
Free on-site gate assessment - hinges, posts, and your LiftMaster or Nice gate operator checked before anything is quoted
The assessment is free and the quote is the invoice.
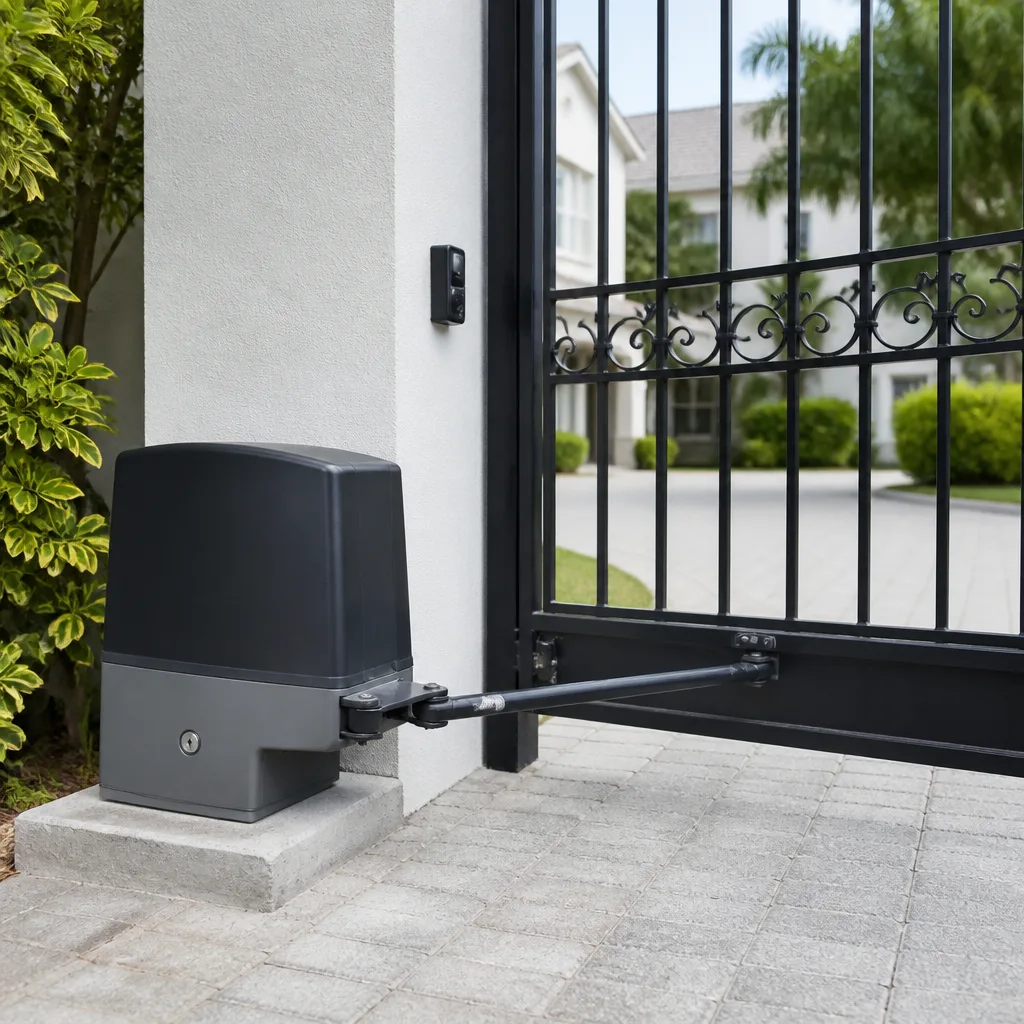
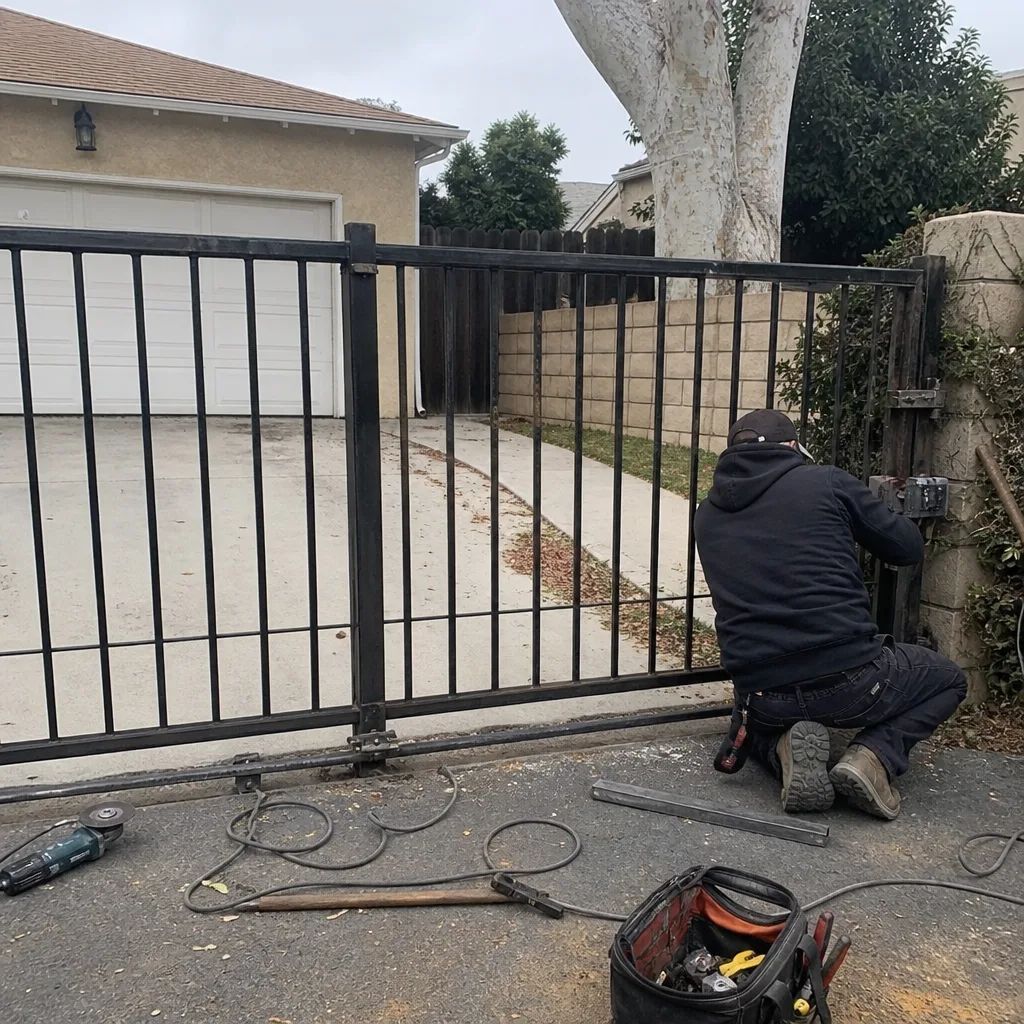 Before
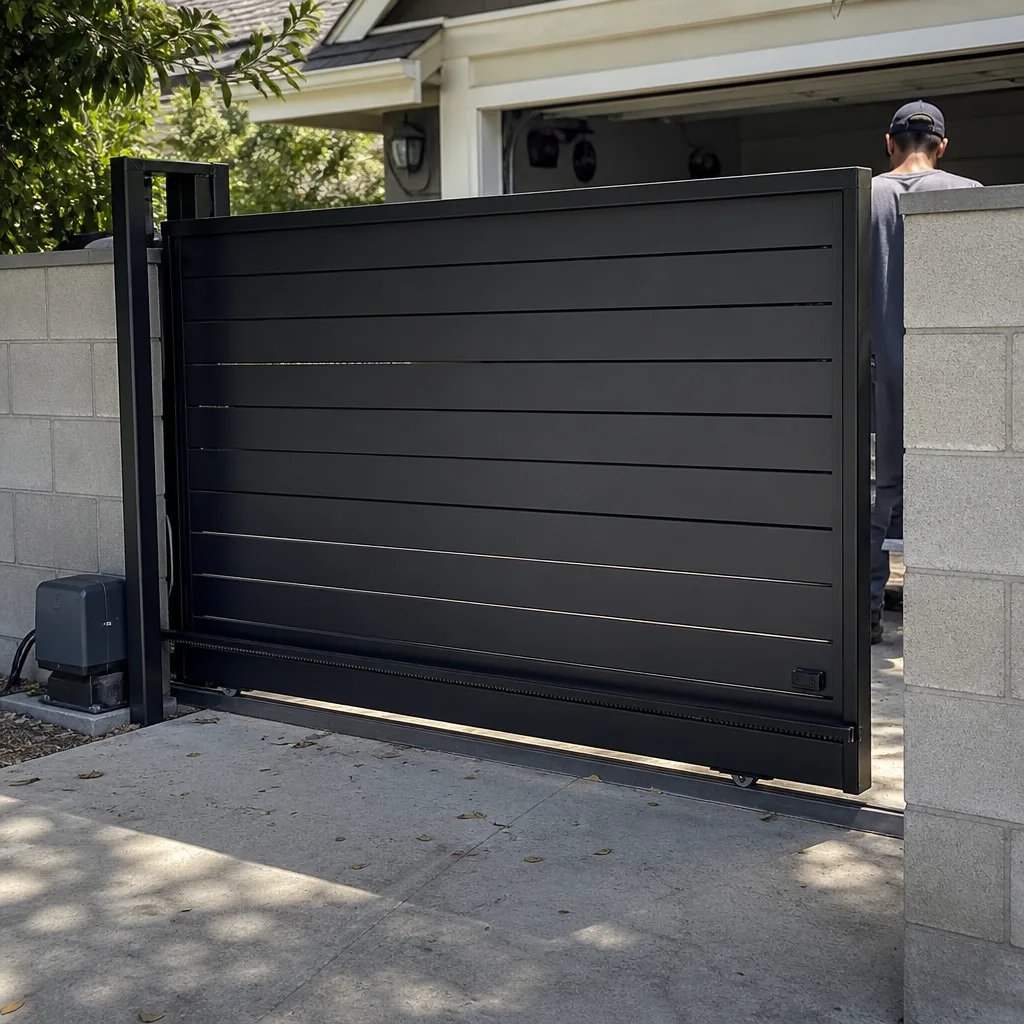 After
After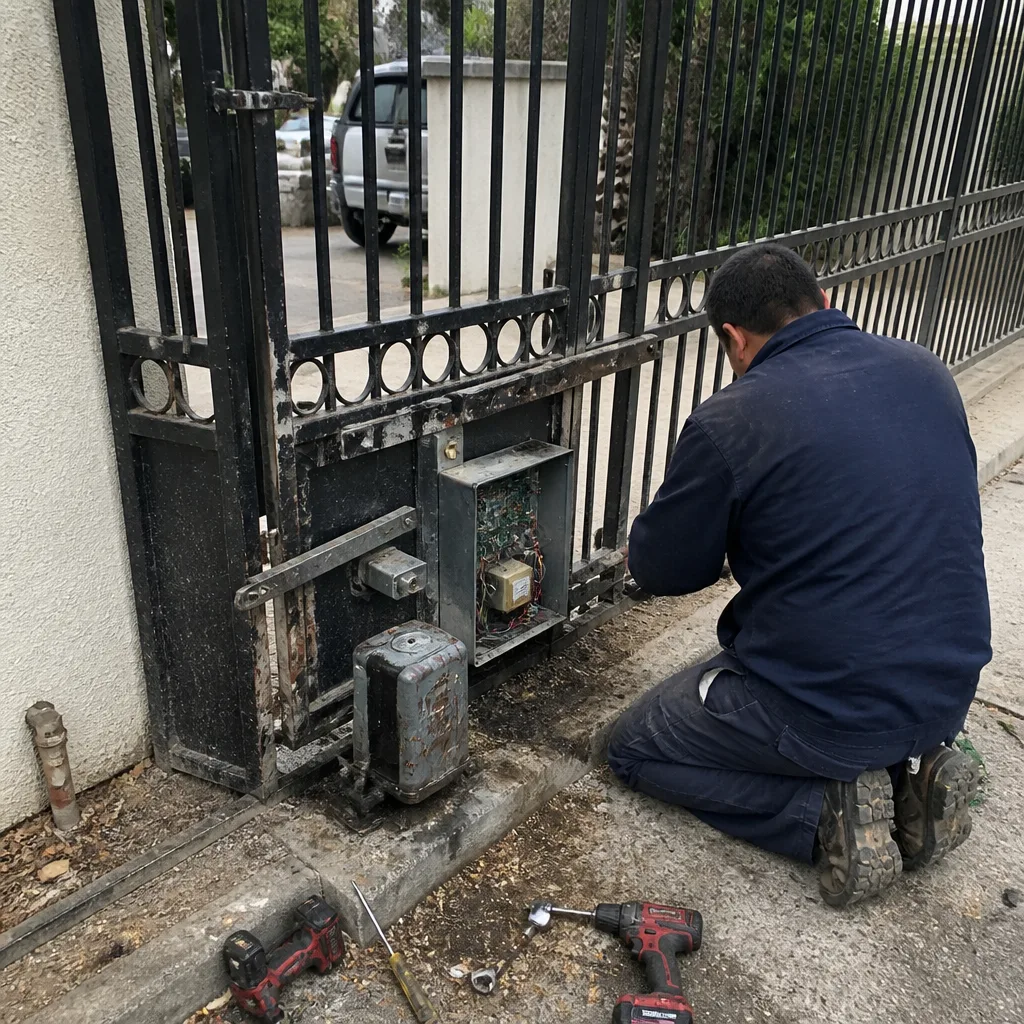 Before
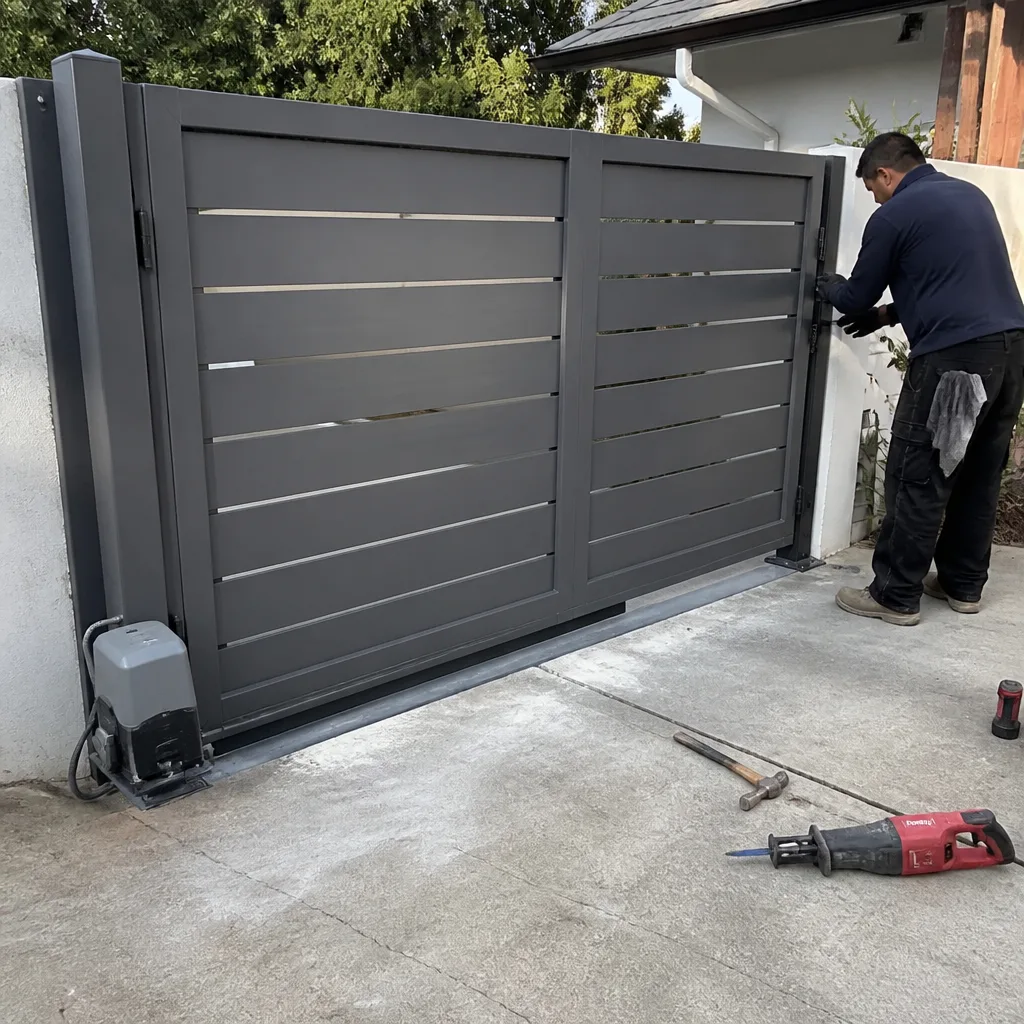 After
After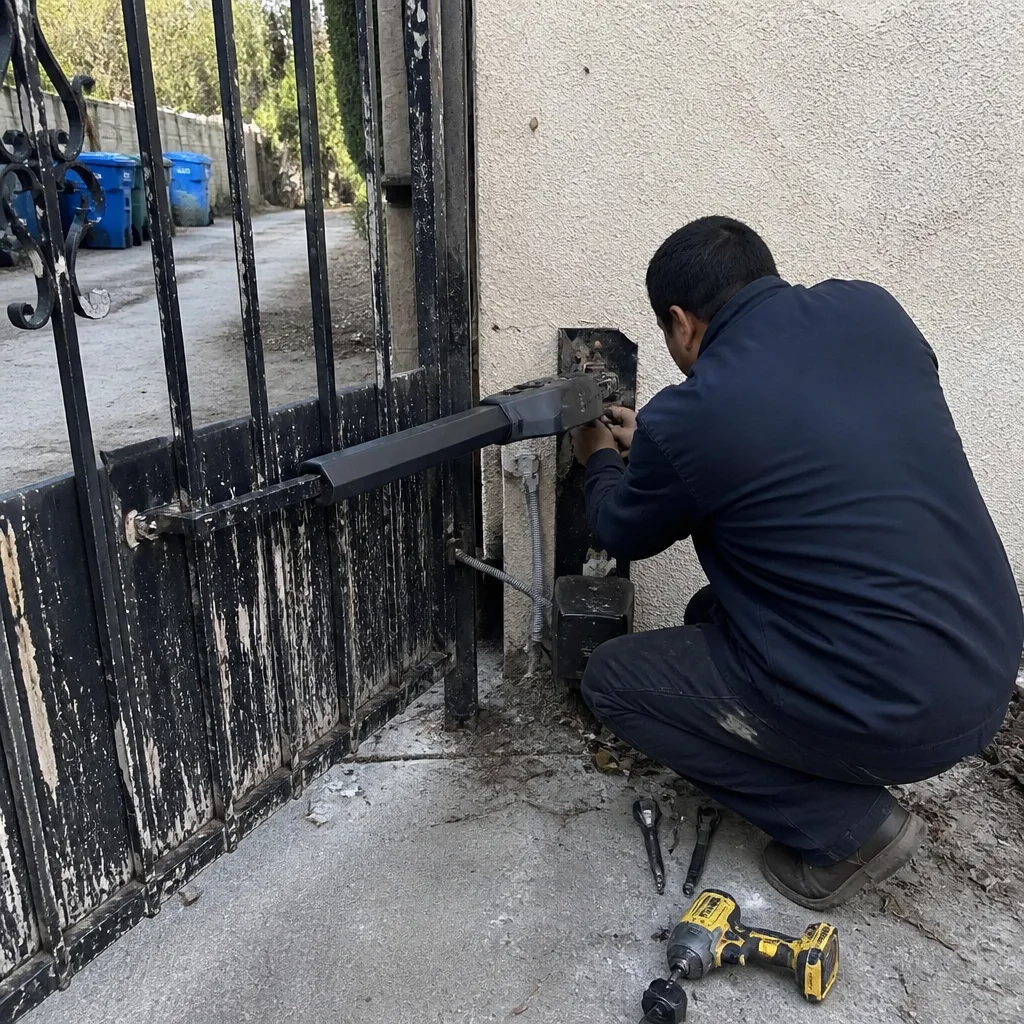 Before
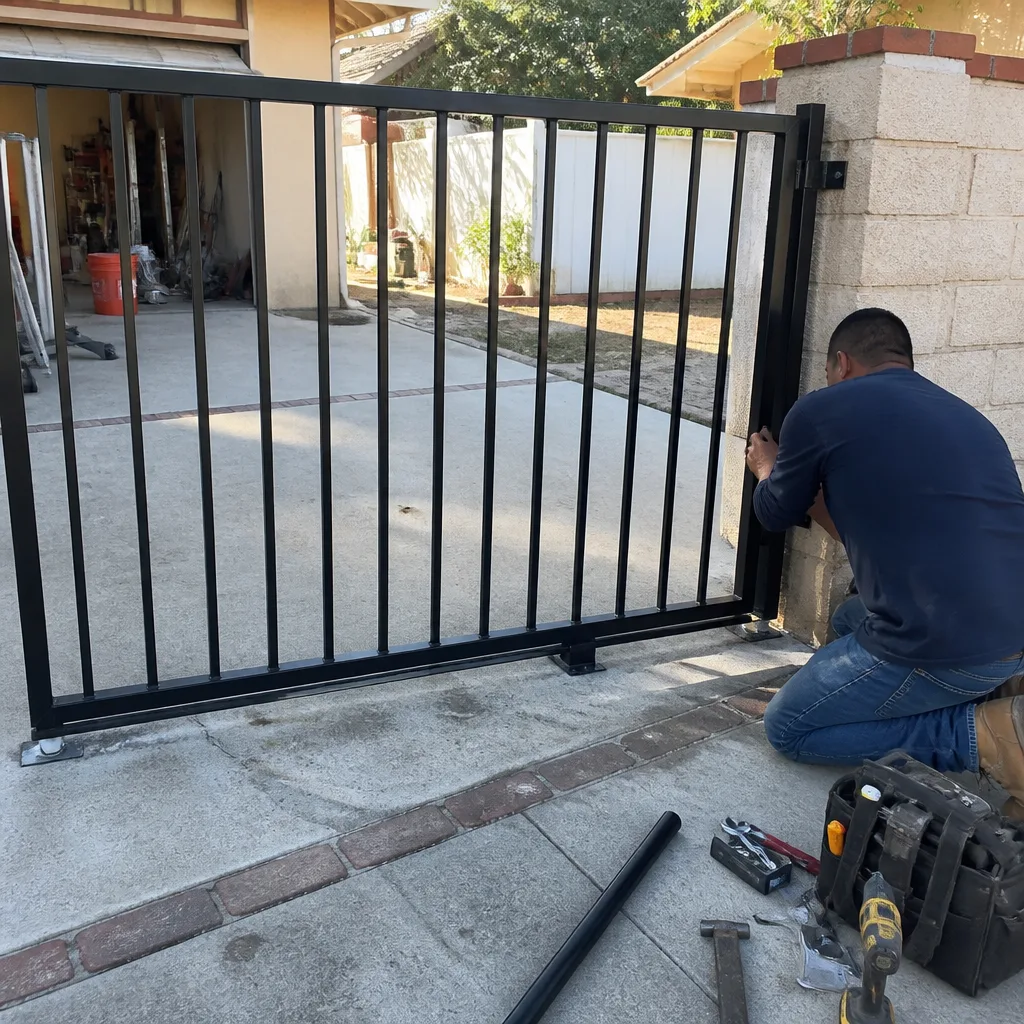 After
AfterLiftMaster Gate Installation in Granada Hills: What to Know First
LiftMaster gate installation in Granada Hills typically costs $1,450 to $4,800 depending on whether you’re adding an opener to an existing gate or starting from scratch with a new gate, and most jobs are completed in one to two days once materials are on site. We’re an independent LiftMaster service provider, not a factory-authorized shop, which means we install what actually works for your property rather than reading you a corporate script. If you own a LiftMaster opener or are thinking about putting one on your Granada Hills gate, this page is for you. Call (760) 361-6706 and you’ll get a real person who knows these units.
Here’s what to keep in mind before you commit to a LiftMaster gate installation: the opener is only as good as the gate it’s bolted to. We’ve pulled plenty of brand-new LiftMaster motors off sagging, badly racked gates in Granada Hills where the previous installer never checked whether the gate actually moved freely. If the gate drags or binds, no opener on the market survives it. That’s why our installs always start with the gate itself, not the motor.
How LiftMaster Products Fail - and How We Fix Them
We see the same few failure patterns on LiftMaster gate openers across Granada Hills, and they rarely show up in the owner’s manual. Here’s what actually goes wrong:
- LA400 / LA412 swing arm shear pins snapping repeatedly. The LA400 and LA412 are popular swing-gate models in Granada Hills, and their shear pins are designed to break if the gate hits something. The problem is when they snap every couple of months for no obvious reason. That’s almost always a gate that’s out of balance or binding on its hinges, and the opener is sacrificing itself to tell you. We fix the gate alignment first, then replace the pin kit. Skip the gate work and you’ll keep buying pins.
- CSL24/CSW24 main control board failures tied to low voltage at the unit. LiftMaster’s commercial slide and swing operators run on 24-volt logic, and they’re picky about power. In Granada Hills, where long driveway runs from the house to the gate are common, undersized wire or corroded splices cause voltage sag. The board works harder, heats up, and burns out switching relays. We check supply voltage at the motor under load before condemning a board, because replacing a $300 board on bad wiring just kills the new one.
- SL3000 / SL585 “dead” units after a big storm. LiftMaster slide operators, especially the SL3000 series, don’t tolerate surge events well. A near lightning strike or a power blip on the DWP grid can take out the transformer or the limit switch module, and the unit looks completely dead. We’ve revived plenty of these in Granada Hills with a modular component swap rather than a full opener replacement, which is what some companies jump straight to.
- RPG series gate opener on a gate that was never balanced after settling. Granada Hills sits on alluvial soil, and gate posts shift over time, especially after a few wet winters. When the post leans, the gate drags, the opener’s RPMs drop, and the logic board eventually faults out on over-current errors. We reset posts and re-hang gates before installing or re-commissioning the opener, because no amount of RPM adjustment outruns a leaning post.
- Pairing / travel limits lost on the 850LM receiver and Smart Lock. LiftMaster’s rolling code and MyQ-connected accessories occasionally lose their travel limits or forget paired remotes after a brownout. Homeowners call thinking the motor is fried. Usually the fix is a power cycle and a full re-limiter ride, plus clearing and re-pairing remotes. We do that on-site in about twenty minutes, and we also check the antenna wire placement while we’re there, because poor antenna routing causes half the intermittent remote issues we fix.
Our LiftMaster Gate Installation Process
When we install a LiftMaster opener on a Granada Hills gate, here’s the order of operations, no mystery and no skip-steps:
- 1
Walk and talk. We look at the gate, the posts, the ground under it, and the power feed. Hal Gatewood grew up not far from the old Granada Hills High School on Zelzah, and he’s seen every gate arrangement this valley can throw at a person. If the gate itself isn’t right, we say so before quoting the opener.
- 2
Measure and verify. Gate weight, opener class needed, throw distance, mounting surface, power availability, and clearance for the arm or the drive rail. We match the LiftMaster model to the actual gate, not the other way around.
- 3
Parts decision. For LiftMaster installs, we use genuine LiftMaster motors and control boards, but for hardware like idler pulleys, brackets, safety edges, and photo eyes, we use quality aftermarket parts when they’re equal or better in spec and priced fairly. We’ll tell you which is which and why.
- 4
Install and align. Motor mounted, chain or arm connected, limits set, force settings tuned to the gate’s actual travel. We don’t crank force settings to hide a heavy gate. If the gate needs a hinge adjustment or a post shim, we do it then.
- 5
Photo eyes and entrapment checks. LiftMaster’s CPS-U and retro-reflective photo eyes get tested for actual beam interruption, not just power. We also confirm the open and close forces reverse properly, because that’s the part that keeps kids and dogs safe.
- 6
Test, explain, and warranty. We run the gate through a half dozen full cycles, show you how the release works and how to set remotes, and then we write everything down. Price was agreed before work started, and the 90-Day Done Right Promise is in writing before we leave.
What LiftMaster Gate Installation Costs in Granada Hills
Here’s the honest money picture for LiftMaster gate installations in Granada Hills, based on what we’ve actually billed over the last few years:
- Opener install on an existing, good-condition gate: $1,450-$2,600 depending on the model (LA400 swing vs. SL3000 slide) and the wiring run from the panel.
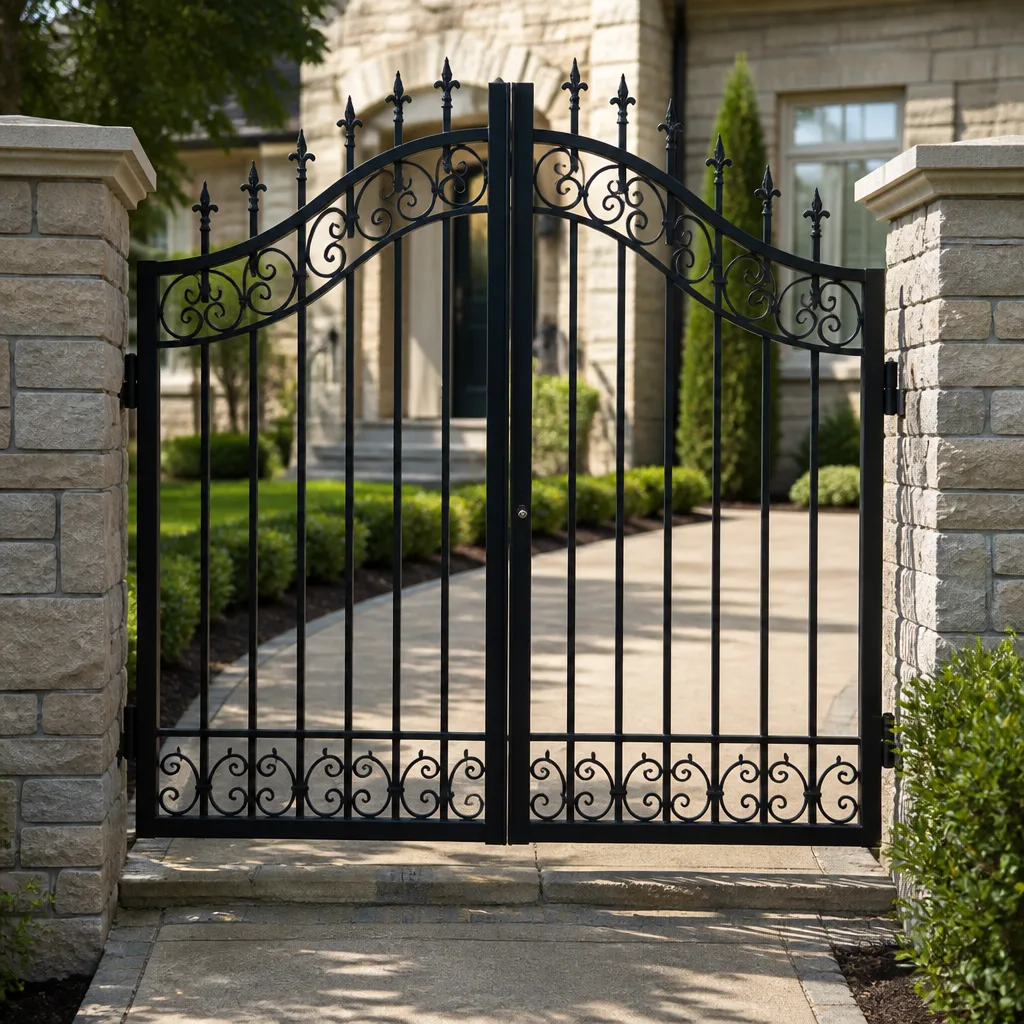
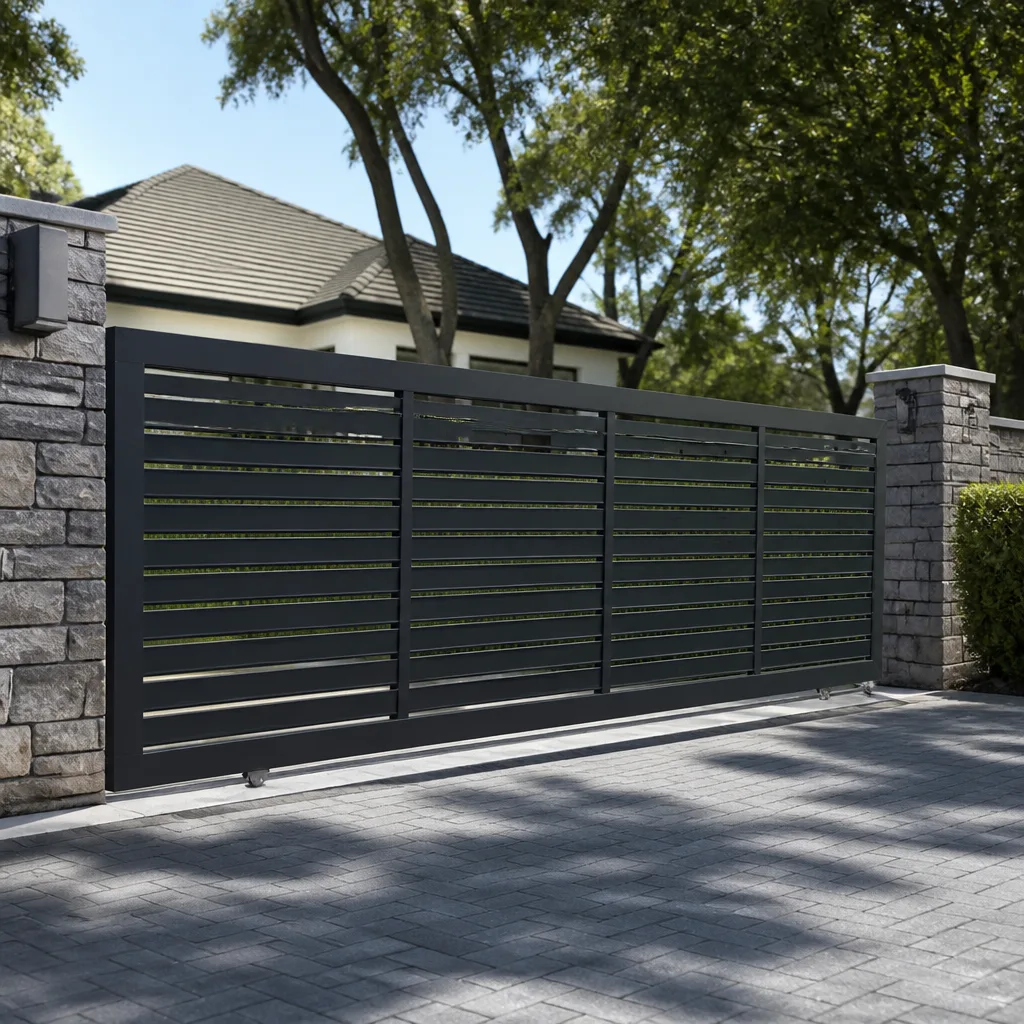
- Opener plus gate fabrication and install (single swing or slide): $2,800-$4,800 depending on gate width, material, and whether we’re building the gate in our shop or welding on-site.
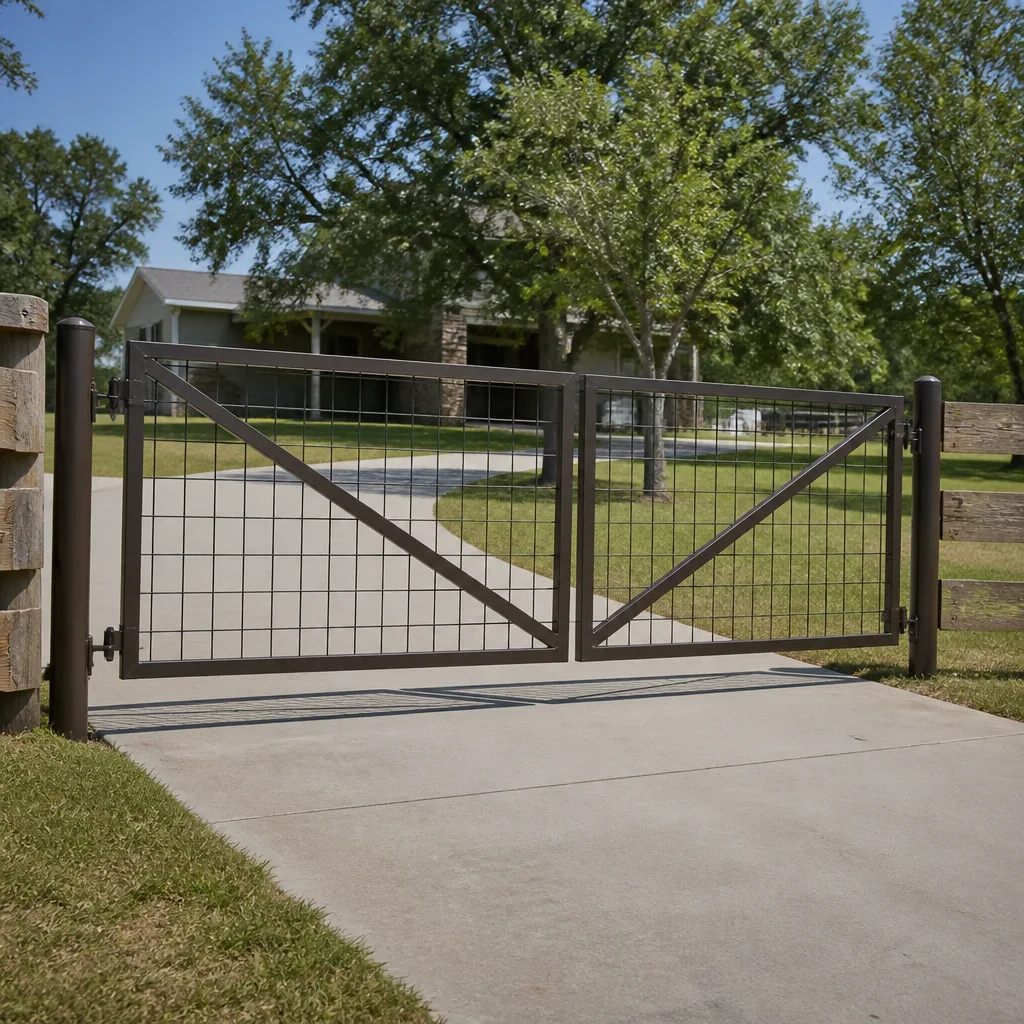
- Double gate / full driveway swing setup: $3,200-$5,600 including both gate leaves, hinges, openers, and safety edges.
What moves the price: the condition of the existing gate, the distance from your panel to the gate (wire trenching and conduit add up), whether we need a pedestal mount or a pad pour, and the door or gate style you want. We quote the job once, in writing, before any work starts. Call (760) 361-6706 for a free estimate, and we’ll come out and measure rather than guessing over the phone.
Why Granada Hills Homeowners Call Gatewood Fence & Gate for LiftMaster Work
We’ve been fixing gates around Granada Hills since 2001, and the reason people call us for LiftMaster work is pretty simple: we show up, we tell you what’s actually wrong, and we fix it without replacing parts that don’t need replacing. Hal’s name is on the shop, and his address is published. That’s a level of accountability a regional outfit can’t offer. Every LiftMaster install or repair we do carries the 90-Day Done Right Promise in writing, and if it’s not done right, one call brings us back. We also work on Mighty Mule, Ghost Controls, and DoorKing systems, so if you have a mixed-property setup or an older opener from another brand, we’re not lost. A live person answers our phones 24/7. Not a voicemail tree. Not a chatbot. A person who knows gates.
FAQs
Warranty coverage on LiftMaster openers varies by model and where the unit was purchased, but generally, using an independent installer like us doesn’t void the underlying product warranty for a factory defect. What voids coverage is improper installation, and we take the time to match the unit to the gate so the install is correct the first time. We’re an independent LiftMaster service provider, not factory-authorized, and we install to factory spec regardless. If you have a warranty question on your specific unit, call (760) 361-6706 and we’ll walk you through what it means for your job before you commit to anything.
Most single-opener LiftMaster installs on an existing gate in Granada Hills are done in a day. A full new gate with opener, double gates, or a slide-gate system with pad work and longer power runs takes two days on average. We’ll give you a straight time estimate when we come out to measure, and we don’t pad the schedule to make it look dramatic.
Yes, and that’s honestly most of what we do. We regularly install LiftMaster openers on gates built by other contractors in Granada Hills, and we also cut off and redo hardware that was poorly placed. The gate itself has to be square, balanced, and moving freely, and if it isn’t, we’ll tell you what it needs before we bolt an opener to it. Tell me what it’s doing and I’ll tell you what it needs, no runaround.
For motors, control boards, and anything that talks to LiftMaster’s logic or MyQ system, we use genuine LiftMaster components. For generic hardware like steel brackets, idler pulleys, hinge plates, safety edging, and power conduit, we use quality aftermarket parts that meet or beat OEM spec for the application. We’ll tell you which parts are which and what each one costs before we start.
If your LiftMaster gate is stuck open or stuck closed and you can’t secure the property, call (760) 361-6706 and we’ll get someone there as fast as the schedule permits that day. We keep our service coverage tight to our local area for exactly this reason, and a live person answers around the clock.
If your LiftMaster gate is giving you trouble, or you’re ready to put a new opener on an existing gate in Granada Hills, call (760) 361-6706. We’ll come out, look things over, and give you a written price before any work begins. No pressure, no upsell, just straight answers from people who’ve been doing this here since 2001.
Written by Hal Gatewood, Owner, Gatewood Fence & Gate at Gatewood Fence & Gate, serving Granada Hills and nearby areas.