
Last updated August 26, 2026
Free on-site gate assessment - hinges, posts, and your LiftMaster or Nice gate operator checked before anything is quoted
The assessment is free and the quote is the invoice.
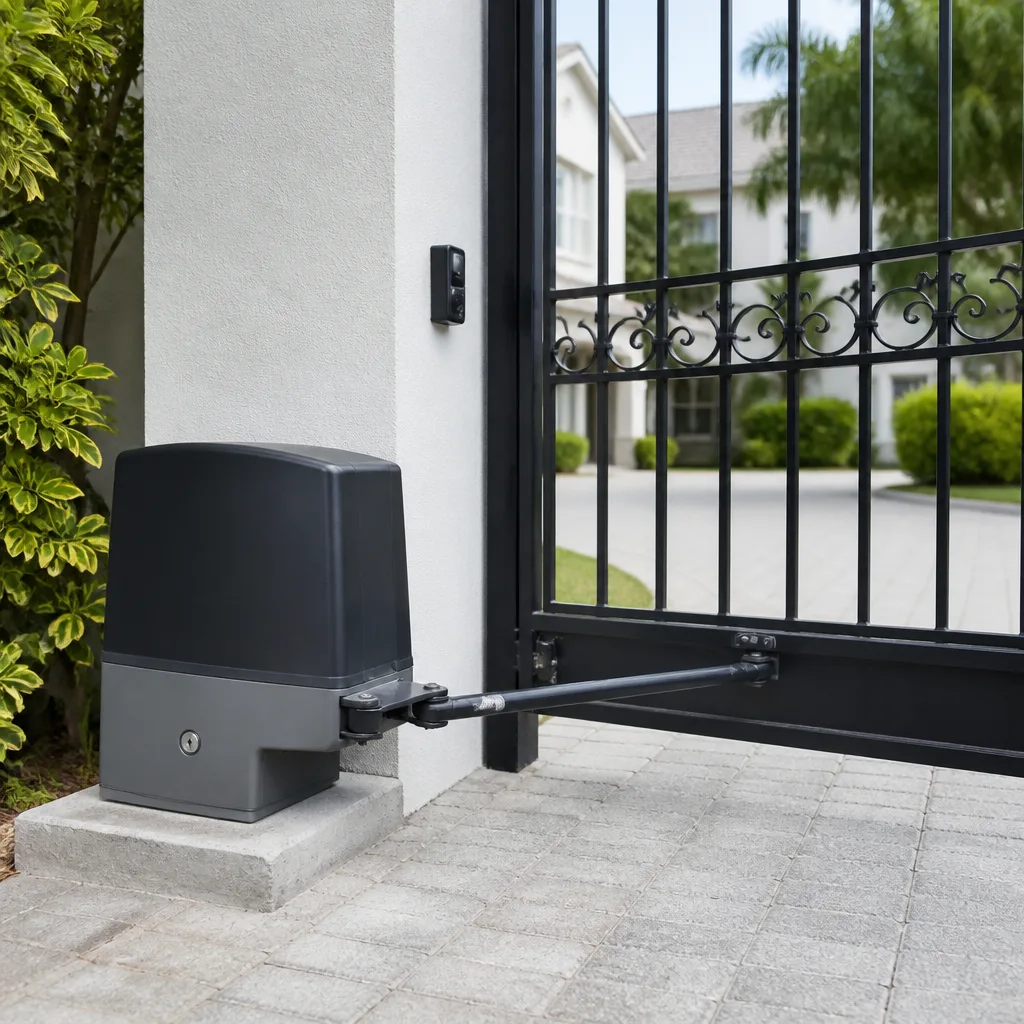
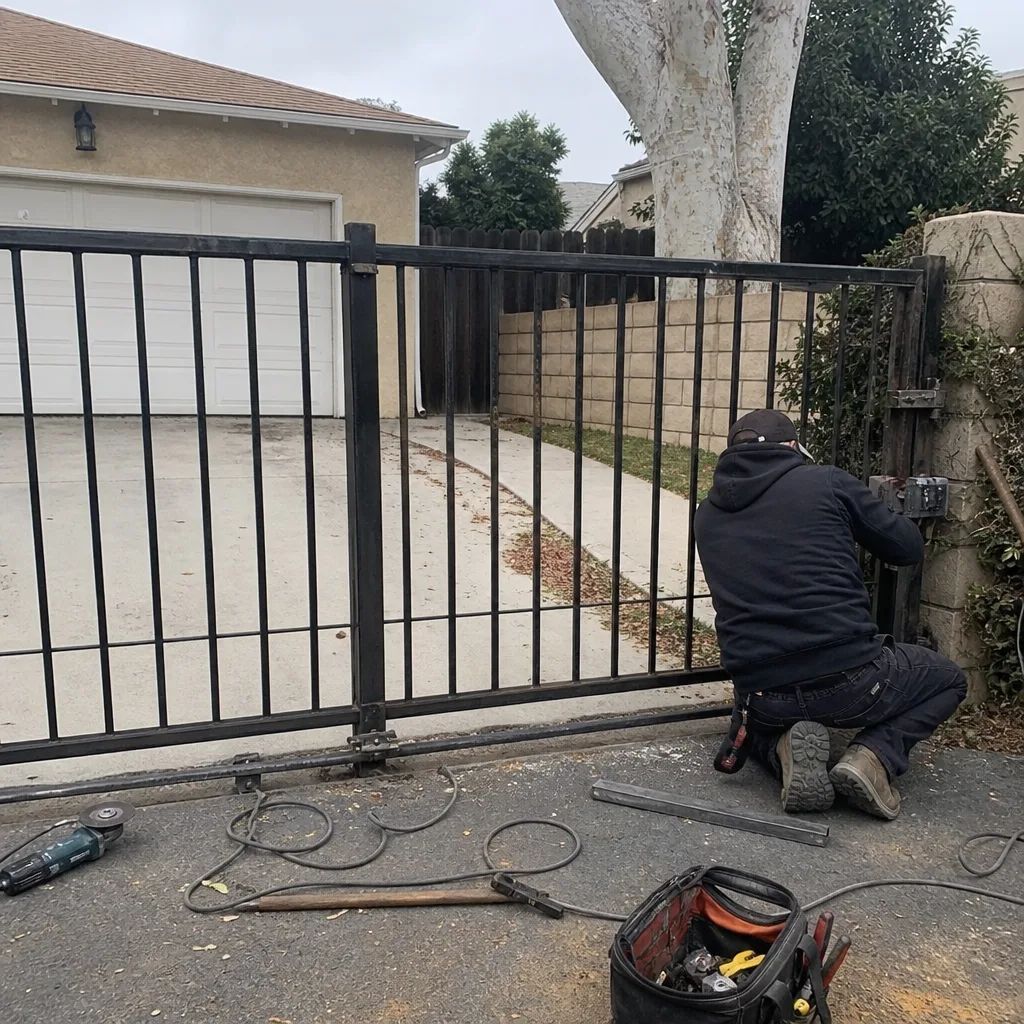 Before
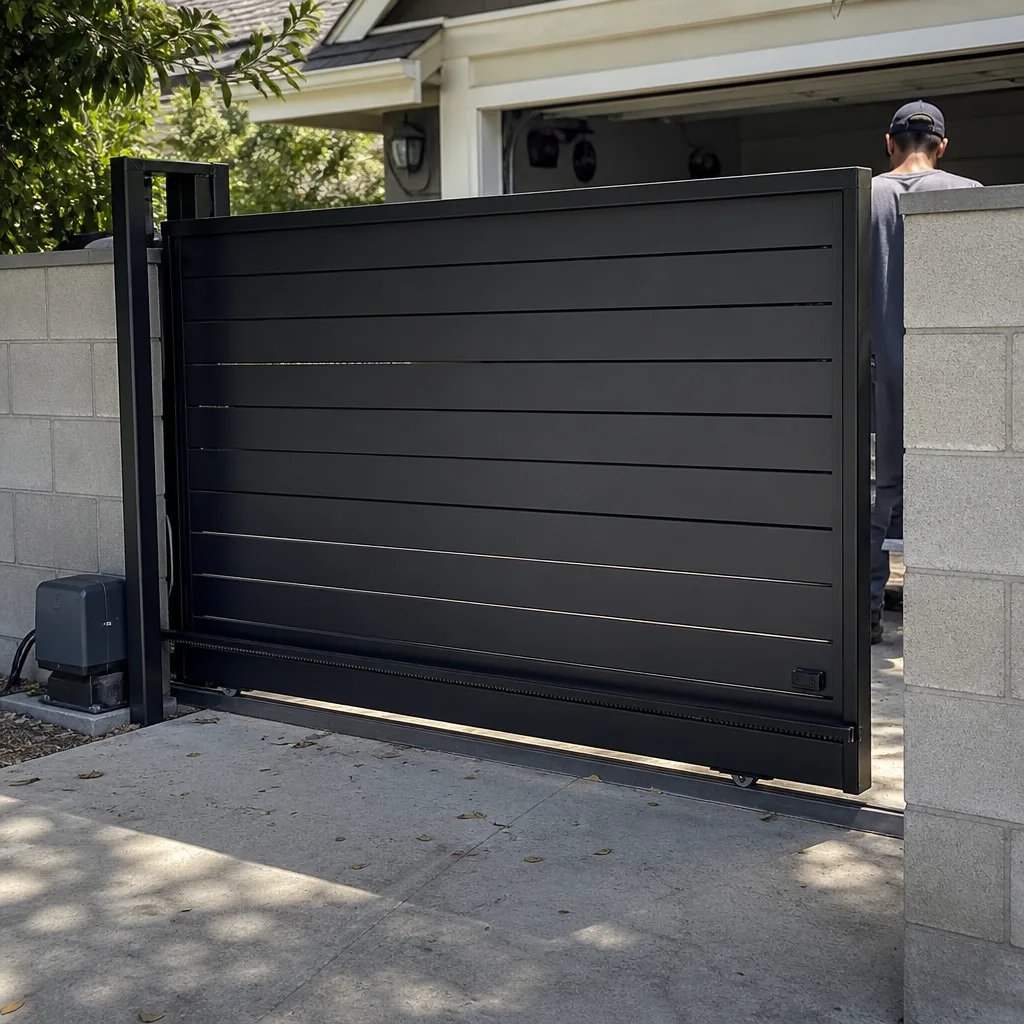 After
After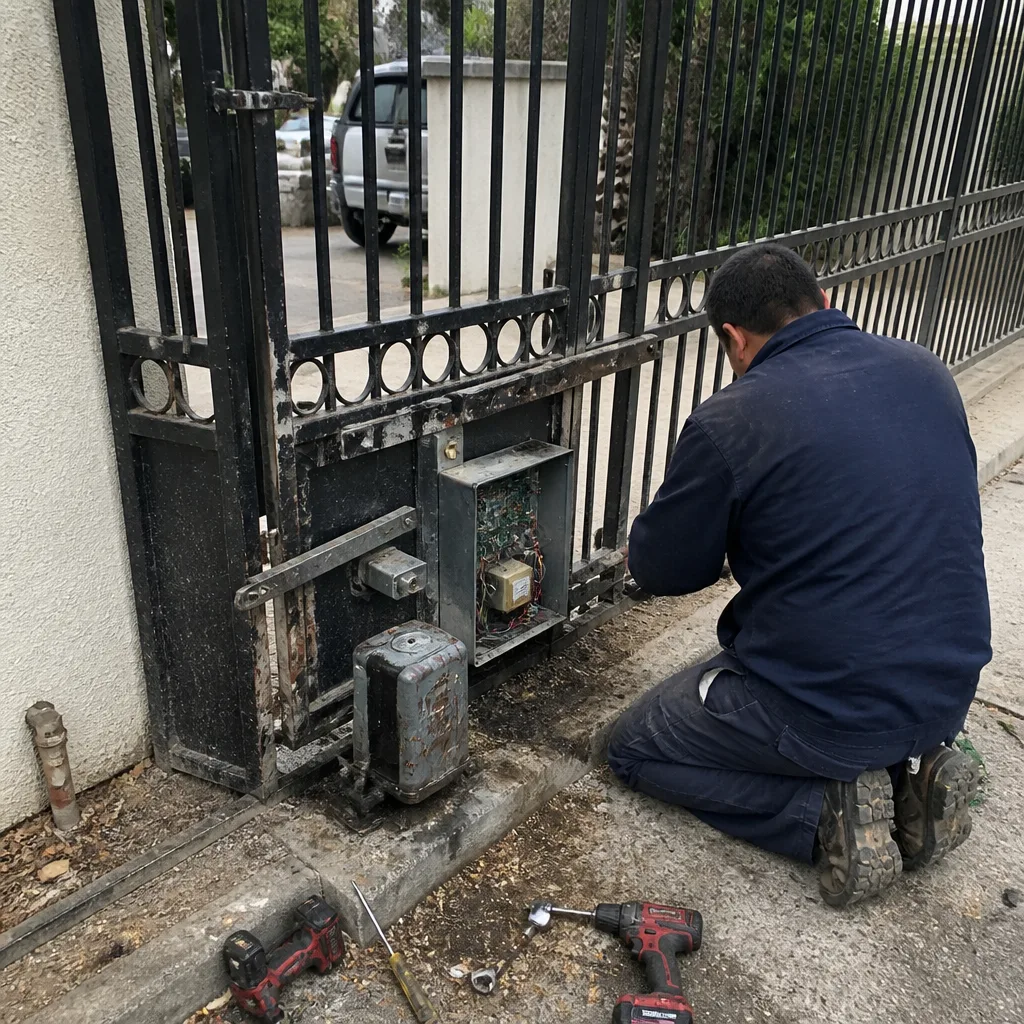 Before
 After
After Before
 After
AfterDIY vs Professional Gate Repair: The Granada Hills Homeowner’s Decision Guide
Here’s the thing nobody tells you about gate repair: most of the time, the actual bolt-turning part isn’t hard. What’s hard is knowing which bolt to turn, and what happens if you turn the wrong one. A homeowner in Granada Hills who spends a Saturday afternoon replacing hinge brackets with a socket set will usually do fine. That same homeowner adjusting the force limiter on a LiftMaster operator because the gate “keeps reversing” has now stepped into territory governed by federal safety standards, and a mistake there isn’t just a broken gate. It’s a 400-pound steel panel that could close on a kid’s bike, a delivery driver’s leg, or the neighbor’s dog. This guide draws that line clearly: which repairs you can genuinely handle with a Saturday and a trip to the hardware store, which ones you should treat like electrical or structural work, and why the difference matters more in Granada Hills. For professional help with any of these issues, our Gate Repair team is available. than a lot of people realize.
Quick Answer
DIY gate repair is reasonable for cosmetic and light mechanical work: replacing pickets, tightening hinge bolts, lubing rollers, swapping a keypad battery, or straightening a sagging gate with an anti-sag kit. It is not reasonable for anything involving gate motors, entrapment sensors, electrical wiring, main post foundations, or welded joint failures. In Granada Hills, where automatic gate operators must meet UL325 entrapment-protection standards and where soil movement from clay expansion and summer heat regularly shifts post footings, the line isn’t about skill. It’s about consequence. A hinge bolt that fails makes noise. An operator that fails can hurt someone, and your homeowners insurance may not cover the result.
Table of Contents
- The Category System: Safe DIY vs. Consequence Work
- The Hinge and Bracket Fix: What DIY Actually Involves
- The Sagging Gate: When an Anti-Sag Kit Works and When It Won’t
- Automatic Gate Operators: Where DIY Crosses Into UL325 Territory
- Wood Gates, Welded Steel Gates, and the Repair-That-Reveals-More Problem
- An Honest Tool and Time Assessment: What DIY Really Costs in Granada Hills
- The Hybrid Approach: What “I’ll Do It Myself and Have a Pro Check It” Actually Costs
The Category System: Safe DIY vs. Consequence Work
Every gate repair in Granada Hills falls into one of three buckets. The first bucket is cosmetic and low-risk mechanical work. This includes replacing individual wood pickets that have split from sun exposure, tightening hinge bolts that have loosened over time, lubricating rollers and track wheels, touching up rust spots on welded steel frames, and replacing the battery in a wireless keypad. None of these tasks affect how the gate behaves as a moving object. If you do them imperfectly, the gate still does what it did before. You might get a slightly crooked picket. That’s about it.
The second bucket is structural mechanical work: hinge replacement, anti-sag kits, post leveling, and welded joint repairs. These tasks affect how the gate moves and how weight is distributed, but they don’t involve electricity and they don’t involve automated safety systems. A competent homeowner with the right tools can handle some of this bucket, but the margin for error shrinks considerably. The difference between a hinge job that lasts ten years and one that fails in six months is usually about 3/16 of an inch in post alignment. If you don’t know what a post level and a string line are for, you don’t know if your hinge job is straight enough until it isn’t.
The third bucket is consequence work: anything involving gate motors, operators, entrapment sensors, photo eyes, loop detectors, control boards, or the main posts themselves when they’ve shifted significantly. This is the bucket where amateur work isn’t just likely to fail. It’s likely to fail in a way that creates danger or liability. We’ll get into exactly why in the sections below, but for now the rule is simple: if the repair involves power or the parts designed to keep the gate from crushing someone, the DIY conversation should end.
Why This Matters More in Granada Hills Specifically
Granada Hills sits in a region where the soil does something predictable and annoying: it swells when wet and shrinks when dry. Our clay-heavy ground absorbs winter rain, expands, and pushes gate posts outward by fractions of an inch. Then the long, hot San Fernando Valley summer bakes the moisture out and the soil contracts, leaving micro-gaps around the footing. A gate that was perfectly level in March can be binding at the latch by September. This isn’t a one-time fix territory. It’s a condition of the ground here. Homeowners who’ve lived in Granada Hills for more than a few years have usually noticed their gate “settles” every summer. That settling is the soil doing exactly what it does, and it changes the calculus for DIY work. A hinge replacement that would be straightforward on stable ground in a coastal town may fail repeatedly here because the post it’s bolted to is shifting underneath it a quarter-inch every year.
- Category 1 - Cosmetic and low-risk mechanical: picket replacement, paint touch-up, rust treatment, hinge bolt tightening, track lubrication, keypad battery. DIY is genuinely reasonable.
- Category 2 - Structural mechanical: hinge replacement, anti-sag kits, post leveling, weld repair. DIY is possible with the right tools and understanding, but the margin for error is real.
- Category 3 - Consequence work: motors, operators, sensors, wire runs, control boards, main post footing issues. DIY is not recommended, and for good reason.
The rest of this guide is organized around those categories. We’ll go through the realistic DIY projects in detail, explain exactly what they take, then turn to the consequence work and explain why the threshold for professional help isn’t a matter of pride. It’s a matter of what happens when the gate doesn’t stop. For Gate Repair Maintenance Checklist for Granada Hills Homeowners, see our detailed resource to stay ahead of these issues.
The Hinge and Bracket Fix: What DIY Actually Involves
Hinge and bracket replacement is the single most common gate repair in Granada Hills, and it’s the one DIY project that most homeowners can genuinely complete. The task is mechanical: remove the old hardware, set the new hardware, hang the gate. No electricity, no safety sensors, no code requirements. The skills involved are basic automotive-grade wrench work. If you can replace a starter on a truck, you can replace gate hinges.
But here’s the part most YouTube videos skip: the hinge is rarely the actual failure point. In our experience working on gates throughout Granada Hills, a worn hinge is usually a symptom of a post that has shifted slightly, or a gate that has been carrying its weight unevenly for years. You can bolt a brand-new set of $35 hinge brackets onto a gate whose post leans 4 degrees off plumb, and you’ll get about eight months before those new hinges are worn the same way the old ones were. The hinge didn’t fail. The post failed beneath it.
Before you buy hardware, do this: open the gate, then let it go. Watch what it does. Does it stay where you left it, or does it swing toward the closed position on its own? Is the gap between gate and post consistent top to bottom, or wider at the top? Does the latch still align with the catch plate without lifting the gate? Those three observations tell you more about whether the post is the problem than any amount of hinge inspection. A gate that swings shut on its own is hung on a post that has drifted out of level, and new hinges won’t fix it. A gate that aligns but has sloppy, oval-shaped hinge pin holes needs only the bracket swap, and that’s a legitimate Saturday job.
What the DIY hinge job actually requires
- Time: 2 to 4 hours for a standard single-drive gate. Double gates with a center drop rod add about 90 minutes.
- Tools: socket set (1/2″ and 9/16″ drive cover 90% of residential gate work), cordless impact driver, level, tapered pry bar or floor jack to support the gate while you work, and shims. A second set of hands is not optional for a single gate over 6 feet wide.
- Materials cost in Granada Hills: quality galvanized hinge brackets run $28 to $60 per pair at local hardware suppliers. Stainless steel versions run $75 to $140 per pair. Use galvanized at minimum. The San Fernando Valley summer doesn’t rust through cheap zinc-plated hinges, but the marine layer mornings in winter will start the process faster than inland areas.
- Skill threshold: moderate. The job is straightforward until the gate weighs 180 pounds and you discover the post has shifted 1/4 inch while you were working.
Compare that to a professional hinge replacement from a company like ours. The labor for a standard hinge and bracket swap in Granada Hills typically falls between $180 and $340 depending on gate size, and that includes the hardware. If the post has shifted, however, the job changes entirely. A post that’s 1/2 inch or more out of level cannot be corrected with new hinges. It needs to be dug out, reset in concrete, and allowed to cure before the gate is re-hung. That’s a different project, and the reason DIY hinge jobs sometimes “work” for a few months before failing again. The hinge was never the problem.
One more thing worth knowing: if your gate has three or more hinges and only one is clearly worn, replace all of them. Mixing old and new hinges creates uneven wear patterns that will shorten the life of the new hardware. This is a mistake we see often in Granada Hills, usually when a homeowner replaces just the bottom hinge on a sagging gate and then wonders why the gate still drags.
The Sagging Gate: When an Anti-Sag Kit Works and When It Won’t
Every gate sags eventually. In Granada Hills, the sag usually announces itself in late summer, after the soil has done its annual contract-and-settle cycle and the latch no longer lines up cleanly. The gate still opens and closes, but you have to lift it slightly at the latch side to get it to close, and the top of the gate has pulled away from the post at a visible angle.
The DIY answer to this, sold at every hardware store and featured in every “don’t pay a pro” video, is the anti-sag kit. It consists of a tension cable, corner brackets, and a turnbuckle. You attach the cable from the top hinge corner down to the lower latch corner, tension it, and the cable pulls the gate back into square. The kits run $18 to $45, install in about an hour, and they do work, sometimes for years, on gates that are sagging because the frame itself has loosened.
But the anti-sag kit treats the symptom, not the cause. And like the hinge problem above, the cause in Granada Hills is usually the post. If the post has settled or shifted, tensioning a cable across the gate frame does not move the post. It transfers the load to the hinges and the wood or steel they’re anchored to. In the short term this restores the alignment and the gate latches fine. Within a year, the same forces that shifted the post are now pulling the upper hinge screws out of the wood, and you have both a sagging gate and damaged hinge mounting points. We’ve repaired gates in the Balboa Highlands area where the anti-sag cable had been tensioned so aggressively that it crushed the wood fibers around the corner brackets, and the gate needed a full frame rebuild.
How to tell which problem you have
- Stand at the hinge post and sight down the line of the post towards the latch side.
- Place a level vertically against the hinge post. If the bubble is more than 1/4 bubble off center, the post is the problem.
- If the post is level, look at the gate frame itself. Grab the latch corner and lift. If the gate frame flexes and the gap closes, the frame has loosened and an anti-sag kit is genuinely appropriate.
- If the post is out of level and the gate is square, do not install an anti-sag kit. It won’t fix the underlying shift and it will damage the hinge mounts.
The post fix is more involved. For a wood post set in concrete, it means digging down beside the post, straightening it, and pouring new concrete or installing wedge anchors. For a steel post in a welded frame, it means cutting the weld at the base, repositioning, and re-welding. The welding is the part that changes the job. A homeowner who is comfortable with all the mechanical work in this section has no reasonable path to on-site welding without professional equipment and several hundred hours of practice. It’s one of the few places in gate repair where the line between DIY and professional isn’t a matter of judgment. It’s a matter of having a welder and knowing how to use it.
In Granada Hills, Gatewood Fence & Gate welds on-site as a standard part of structural repairs. That means the gate stays in your driveway and the fix happens where the gate lives, rather than hauling the panel to a shop or, worse, shipping it to a fabricator across the county. For our gate repair in Granada Hills, on-site welding is the difference between a repair that accounts for the actual ground conditions at your house and a repair that was done to a gate sitting on a bench somewhere. They aren’t the same thing.
Automatic Gate Operators: Where DIY Crosses Into UL325 Territory
This is the section where the DIY conversation stops being about skill and starts being about liability. An automatic gate operator in Granada Hills is not just a motor and a set of wheels. It’s a device governed by a federal safety standard called UL325, which exists specifically because automatic gates have killed people, including children, and the industry and regulators responded by codifying what a safe gate operator installation must include.
UL325 requires, among other things, that every automatic gate operator have at least two independent entrapment protection mechanisms. These are typically photo eyes and a contact sensor or edge sensor. The standard also requires fail-safe and fail-soft behavior when those sensors are blocked or disconnected, and it specifies the forces and speeds at which the gate may move. In California, the compliance requirement is not optional. It applies to every residential automatic gate operator installed, modified, or serviced in the state.
Here is what that means for a DIYer who’s thinking about “just adjusting” the operator on a Mighty Mule or FAAC system: the adjustments you make to force settings, close limits, and sensor sensitivity are adjustments to a safety system, not just to a motor. When a well-meaning homeowner turns up the force limiter because the gate keeps reversing on a hot afternoon, the operator now pushes harder before it reverses. If a car is in the way, the gate pushes harder against the car. If a person is in the way, the gate pushes harder against the person. The homeowner didn’t “fix” the gate. They disabled the failure mode that was keeping someone safe.
This is not hypothetical. The most common call we get in Granada Hills that starts with “I tried to adjust it myself” is an operator that was re-programmed to overcome a sensor fault. The gate was reversing because the photo eye was misaligned or a wire had chafed. The fix is to repair the sensor. What DIY logic does instead is tell the controller to ignore the sensor signal and keep closing. That gate now passes through a field where the entrapment sensor is non-functional. It works until something walks into that field that the gate can’t see, and then the gate doesn’t stop.
What a homeowner can safely do with an automatic operator
- Replace the battery in a wireless keypad or remote.
- Reprogram a remote that has lost its code, following the manufacturer’s instructions exactly.
- Clean the photo eye lenses with a soft cloth and verify that the alignment is correct per the manual.
- Check for visible damage to wiring and report it, without modifying it.
What a homeowner should not do
- Adjust force settings, speed settings, or the close limit beyond the manufacturer-specified range.
- Bypass a photo eye or edge sensor because the gate “keeps stopping.”
- Re-wire the control board or splice sensor wiring.
- Reprogram the operator to ignore error codes.
- Install a third-party replacement board that hasn’t been certified for that operator model.
The liability angle is the one almost no DIY guide covers. If a gate operator that you modified injures someone, your homeowners insurance company will investigate. If the investigation determines that the modification created an unsafe condition, the claim can be denied, leaving you personally liable for what is typically six-figure medical and legal territory. This isn’t an alarmist hypothetical. It’s the documented pattern in automatic gate injury cases nationwide. In a residential neighborhood in Granada Hills like Knollwood, a gate that fails while a child on a bicycle is passing through the opening is every parent’s worst case, and the discovery that the operator was adjusted by an unqualified homeowner compounds the tragedy with a legal finding of negligence. That’s not a risk with a hinge bracket.
For operator work, our team services LiftMaster, FAAC, BFT, Linear, Viking, Ghost Controls, DoorKing, Elite, and Mighty Mule. When an operator issue comes to us from a homeowner who started the repair themselves, the first thing we do is restore the operator to manufacturer specification before we address the original complaint. The safety parameters get set back to correct values first. Then the repair proceeds. That order is not negotiable, and any repair company that’s willing to leave a bypassed sensor in place to get the gate working faster is not a company you want working on a device designed to move hundreds of pounds of steel through an opening where people walk.
Wood Gates, Welded Steel Gates, and the Repair-That-Reveals-More Problem
Granada Hills has a mix of gate types, and the type you have changes what DIY is appropriate. The older neighborhoods, particularly the ranch-style homes along the northern edge of the city, often have wood gates built from cedar or redwood. The newer communities and many of the hillside properties have welded steel gates, often painted black or dark bronze to match the fence line. The two materials fail differently and demand different repair approaches.
Wood gates
Wood gates fail at the joints first. The corners loosen, the pickets split, and the latch screws eventually strip out of the wood fibers. Most of these failures are genuinely DIY-repairable. Replacing split pickets is a saw-and-drill job that takes an hour. Tightening corner brackets is a socket job. Re-setting a stripped latch screw with a larger gauge screw and some wood glue is a 20-minute fix. Wood gates are forgiving in ways steel gates are not, because wood flexes under load instead of transmitting it to the hardware.
The one wood gate repair where DIY consistently creates bigger problems is the rotted bottom rail. A gate whose bottom rail has rotted away at the hinge post is no longer carrying weight through the frame. It’s hanging on the pickets. If you replace the pickets without addressing the rotted rail, you’ve made the gate prettier without making it stronger, and the first time someone leans on it, the whole panel can twist and pull the hinges. The repair is a full rail replacement, which means disassembling the gate down to its frame, cutting a new rail, and reassembling. That’s an afternoon job for someone who has done it once and a two-day job for someone who hasn’t. The clue that you’re in this situation is soft wood at the bottom rail near the hinges that you can press with a screwdriver and depress more than 1/8 inch. Once the rot is that deep, the rail is structural toast.
Welded steel gates
Welded steel gates fail differently. They don’t rot and they don’t loosen, not in the same way. What they do is crack. The welds at the corners fatigue over time, especially on gates that cycle daily and carry significant weight. The crack is usually hairline at first, sometimes showing as a rust line through the paint at the corner joint. Left unrepaired, the crack propagates and the corner separates. We see this most often on hillside properties in Granada Hills where the gate is wide, the grade is uneven, and the operator pushes the gate through its cycle with a little extra force at the start and stop.
There is no meaningful DIY repair for a cracked weld on a structural steel gate. The repair requires grinding out the old weld, re-welding the joint, and often adding a gusset plate to prevent the same failure from recurring. That’s a professional welding job with a MIG or stick welder, a grinder, and enough experience to know how much heat to put into the joint without warping the frame. It’s also the kind of repair that’s ideally done with the gate in place, on the hinges, so the weld is made with the gate in its natural loaded position. A gate welded on a bench, under no load, can be welded perfectly and still bind when it’s re-hung because the heat distorted the frame by an eighth of an inch that the ground conditions at your house will only amplify.
This is the “repair that reveals more” problem in its clearest form. It starts with a homeowner noticing the gate isn’t latching cleanly, then finding a small crack at the bottom corner. The temptation is to patch it with a plate and some bolts from the hardware store. But the crack is the visible end of a fatigue pattern that runs through the joint. If you bolt a plate across it, you’ve addressed the symptom while leaving the fatigue. Six months later the crack reappears on the other side of the plate. The professional fix, grinding and re-welding the actual joint, is a 90-minute job in the driveway. The amateur fix becomes a recurring expense that never actually resolves.
We have done this long enough to have a standing rule: if a customer has already attempted a welded or structural repair and it’s failed within a year, we restore the frame to its original condition before we do anything else. That means removing the patch plates and the replacement bolts, checking the original welds, and rebuilding from there. It’s more work than starting from a clean gate, but starting from an unmodified gate is the only way to know the fix will hold. You can see more about how we handle that at Gate Installation in Granada Hills, particularly for gates that have accumulated multiple layers of previous repairs.
An Honest Tool and Time Assessment: What DIY Really Costs in Granada Hills
Most DIY-versus-professional comparisons are dishonest. They compare a professional quote that includes labor, tools, disposal fees, and a workmanship guarantee against a DIY material cost that includes only the parts. They ignore the tools you don’t already own, the time you’ll spend learning the repair, the second trip to the hardware store, and the cost of fixing the mistake you make on the first attempt. Here is a real accounting for the three most common DIY gate repairs in Granada Hills.
Repair 1: Hinge replacement (single drive gate, no post issues)
- Materials: $40 to $75 for quality galvanized or stainless hinges.
- Tools you already own: socket set, level, screwdrivers. Most homeowners own these.
- Tools you may need: a gate jack or floor jack to support the gate, shims. $25 to $60 if purchased.
- Time: 3 to 4 hours including the drive to the hardware store and the learning curve.
- Risk of failure: low if the post is level. High if you skipped the post check.
- Professional cost equivalent: $180 to $340 including hardware, with a workmanship warranty.
- Honest verdict: DIY is reasonable if you’ve verified the post is level and you’re willing to spend the day.
Repair 2: Anti-sag kit on a wood gate
- Materials: $18 to $45 for the kit itself.
- Tools: a drill and the included hardware. Minimal.
- Time: 60 to 90 minutes.
- Risk of failure: high if the post is out of level or the frame is heavily rotted. You’ll waste the kit and possibly damage the frame.
- Professional equivalent: depends. If the post is the issue, $400 to $900 for a post reset. If the frame is sound and the gate truly is just racked, a pro may install the same kit, but the job usually reveals the post or frame issue that a DIYer would have missed.
- Honest verdict: DIY is reasonable only after the post check described above. Skipping that check turns a $30 repair into a $900 post reset.
Repair 3: Gate operator adjustment (force setting, reversing sensitivity)
- Materials: none for the adjustment itself. The cost is almost entirely risk.
- Tools: a screwdriver and access to the operator’s programming manual.
- Time: 20 minutes, which is precisely the problem. It’s easier than anyone expects, and that’s why people do it.
- Risk of failure: not a failure in the mechanical sense. The gate will open and close. The risk is a liability and injury scenario that no $20 savings justifies.
- Professional equivalent: $120 to $250 for a service call and proper adjustment, including a full safety system check.
- Honest verdict: this is the one repair where the DIY saving is smallest and the risk is largest. The dollar math says DIY is cheaper. The liability math says it isn’t.
The pattern here is consistent. Cosmetic and simple mechanical work has a genuine DIY case. Structural work has a case only if you’ve correctly diagnosed the post and frame condition, and most homeowners who skip that diagnosis end up spending more than the professional quote would have cost in the first place. Automatic operator work has no meaningful DIY case once you account for the fact that the gate you’re adjusting is a device regulated by a federal safety standard. In Granada Hills specifically, the climate and soil add a layer of complexity to the structural and operator categories: ground movement means posts shift more here than in most of California, and the heat means components expand and contract through a wider temperature range than they would in a coastal climate. Your gate’s problem is rarely just the part you can see.
The Hybrid Approach: What “I’ll Do It Myself and Have a Pro Check It” Actually Costs
A lot of homeowners in Granada Hills land on a middle path. They’ll do the parts of the repair they’re comfortable with, and then call a professional to “just check it over” or “finish the tricky part.” The logic seems sound. Save the labor on the easy stuff, spend the money where it matters. In practice, the hybrid approach often costs more than either going full DIY or calling a pro from the start.
The reason is that professional gate repair, like a lot of trades, starts with a clean baseline. When Hal shows up to a gate that’s already been partially dismantled by the homeowner, the first thing he has to do is verify that the work done so far is correct. That means checking torque on every bolt that was loosened, verifying the hinge alignment, confirming the post is still level, and inspecting for stripped threads and crossed bolts. That’s time. If the homeowner’s work is good, the check is quick. If it’s not, he’s now undoing and redoing the work the homeowner already spent a Saturday on, and the customer pays for that.
The hybrid approach also creates ambiguity about who owns the outcome. If a homeowner replaces their own hinges and the gate works fine for two weeks, then sags again, the professional who comes out has to determine whether the failure was the homeowner’s hinge work or an underlying post issue that was present before the hinge work began. That’s a diagnostic question, and it takes time to answer. A gate that comes to a professional unrepaired is much easier to diagnose, because nothing has been changed and no new variables have been introduced.
There is one version of the hybrid approach that does work: the free second opinion. If you’ve been quoted a repair by a big company or a handyman and the quote seems high, or it seems like they want to replace things that don’t obviously need replacing, get a second pair of eyes before you let anyone start work. Gatewood Fence & Gate offers a free second opinion on any written estimate. That’s not a marketing gimmick. It’s a diagnostic service, and it exists because we have seen too many gates in Granada Hills get torn apart and replaced wholesale when the actual repair would have taken an afternoon and cost a fifth of the replacement price. The second opinion is a genuinely useful tool, and it’s the only version of “do some myself, get a pro for the rest” that reliably saves money rather than adding to it.
If you’re deep into a DIY repair and you realize the problem is bigger than you thought, the moment to stop is the moment you find yourself reaching for a tool you weren’t expecting to need. If your hinge replacement has turned into a post that won’t stay put, stop. If your operator adjustment has become a rewiring project, stop. Put the gate back as close to its original condition as you can, take photos of everything you did, and make the call. A professional coming into a partially-done repair with good documentation is in a much better position than one who has to reverse-engineer the homeowner’s afternoon with no record of what was touched. This is also where staying local matters. A local Granada Hills gate company that works in your neighborhood will come out, look at what you’ve done, and tell you honestly whether it’s safe to leave as-is or needs to be redone. You’re not going to get that honesty from an outfit that only exists as a phone number and a branded van.
Common Mistakes to Avoid
- Replacing hinges before checking the post. The hinge is almost always the symptom, not the cause. In Granada Hills, post settlement from soil movement is the most common underlying cause of hinge failure. New hinges on a shifted post last less than a year, and you’ve now spent a Saturday and a hundred dollars on hardware that a professional would have caught in the first ten minutes.
- Installing an anti-sag kit on a gate with a level post problem. The kit is designed for frame racking, not post settling. Tensioning the kit against a shifted post transfers all the load into the hinge screws and makes the eventual professional repair more expensive than it would have been.
- Adjusting the operator’s force setting to stop “nuisance reversals.” The reversal is a safety function doing its job. Overriding it is how you get a gate that doesn’t stop when a child is in the opening. This is the most dangerous single DIY gate mistake, and it’s common because the adjustment is easy and the reasoning feels sensible.
- Using interior-grade wood screws on exterior gate hardware. Granada Hills gates face direct summer sun and winter rain. Interior screws rust within months and strip out of the wood, leaving you with a hinge that’s holding on by rust. Use exterior-rated or stainless fasteners, and pre-drill every hole.
- Ignoring the manufacturer’s wiring schematic when replacing a gate operator accessory. The wire colors on a LiftMaster unit are not the same as a FAAC or a Mighty Mule. Mixing them up can fry the control board or bypass a safety circuit. This is a $40 mistake that becomes a $400 board replacement.
- Waiting too long on a small problem. A gate that’s slightly hard to latch today is grinding its hardware every time it moves. By the time it stops latching entirely, the hinge pins are worn, the brackets are egg-shaped, and the post has taken extra load. The $180 hinge job is now a $800 post and hinge job. In Granada Hills, the summer settling season is the most common time for this progression, so the gates that get addressed in the spring are the ones that don’t fail in September.
- Believing that “checking it over” is free with a pro you aren’t paying. A gate professional who comes out to look at your partially-completed repair is working. The time to verify the work and assess the situation is billable. The one exception is a structured free second opinion, but that assumes you have a written estimate from another company. It doesn’t mean the pro will finish your DIY for free.
When to Call a Professional
Make the call when the repair involves the gate operator, the safety sensors, the wiring, the control board, or any welded joint on a steel frame. Make the call when the post is visibly out of level or the ground around the post shows signs of movement. Make the call when the gate has already been repaired once and the problem has returned within a year. And make the call when you realize, mid-repair, that you’re not sure what you’re looking at. Each of those scenarios is a signal that you’ve crossed from mechanical work into structural or safety-system work, and the cost of a service call is the cheapest part of the outcome. Gatewood Fence & Gate offers free estimates in Granada Hills. Call (760) 361-6706 and Hal will talk you through what you’re seeing, whether that’s over the phone or in your driveway.
Frequently Asked Questions
Most residential gate repairs in Granada Hills fall between $150 and $900 depending on what’s wrong. Simple hinge and bracket replacements run $180 to $340 including hardware. Post resets run $400 to $900 depending on depth and concrete work. Gate operator service calls typically run $120 to $250 for diagnosis and adjustment, with additional cost for parts if something like a control board or motor has failed. Every Gatewood Fence & Gate quote is given and agreed before work starts, so the number on the estimate is the number on the invoice. Call (760) 361-6706 for a free estimate on your specific gate.
You can replace batteries, reprogram remotes per the manufacturer instructions, and clean photo eye lenses. You should not adjust force settings, bypass sensors, re-splice wiring, or replace control boards unless you are trained on UL325-compliant gate operator service. The adjustment is easy, the liability is not, and it’s the only category of gate repair where the risk flows directly from the work being done wrong rather than from the gate failing naturally. Explore our more guides & resources for additional homeowner guidance.
Why does my gate sag every summer in Granada Hills?
The clay soil in the San Fernando